Open the adjuster tool
Launch the adjuster tool online from any device.
FREE ONLINE EXPOSURE ADJUSTER
Processing: Server-processed (Encrypted HTTPS)TECHNICAL SPECIFICATIONS & LIMITS
Below are the verified technical parameters, batch limits, and processing details for Brightness & Contrast:
| Specification | Technical Behavior |
|---|---|
| Processing Architecture | Server-processed via encrypted HTTPS API (ephemeral memory, deleted within 30 minutes) |
| Accepted Input Formats | JPG, JPEG, PNG, WEBP |
| Output Format | Preserves source image format (JPG, PNG, or WebP) |
| Batch Processing Limit | 10 files per batch |
| Configurable Parameters | Brightness (0–3, default 1); Contrast (0–3, default 1) |
| Transparency / Alpha Handling | Preserved when output format supports alpha (PNG, WebP, ICO) |
EXPOSURE CORRECTION
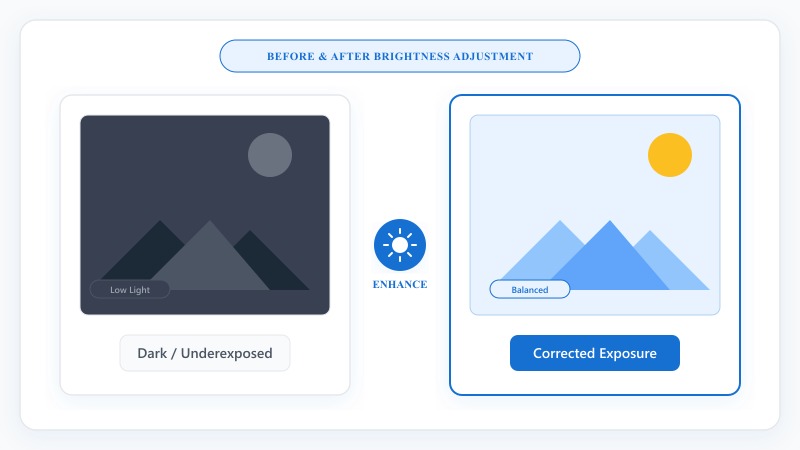
Brightness and contrast are two of the most fundamental controls in photo editing, and they solve two different problems. Brightness controls how light or dark the overall image is — useful for fixing a photo shot in dim lighting, or toning down one that's overexposed. Contrast controls the difference between the light and dark areas of an image — low contrast looks flat and dull, while higher contrast makes highlights and shadows more distinct, giving the photo more visual punch.
Most everyday photo problems — a dark indoor shot, a washed-out outdoor photo, a dull-looking scan — come down to one or both of these being off. Fixing them doesn't require professional editing skills, just the right adjustment.
NO PHOTOSHOP REQUIRED
That covers how to adjust image brightness and contrast from start to finish — no separate editing app needed.
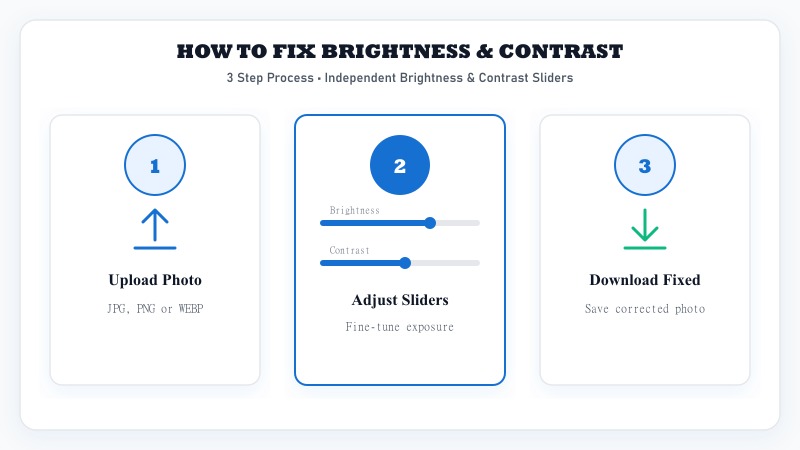
Launch the adjuster tool online from any device.
Select your underexposed or overexposed photo.
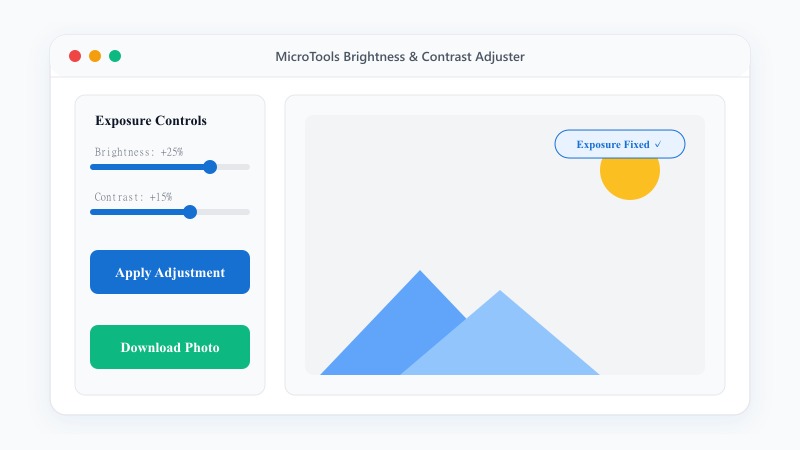
Lighten or darken the image to correct overall exposure.
Increase or reduce the difference between light and dark areas.
Preview the result and save once it looks right.
UNDEREXPOSURE FIX
How to brighten a dark image online: increase the brightness slider until detail that was lost in shadow starts to come through. This works well for photos that are dark overall but where some detail is still technically present in the file — it's just been hard to see. How to fix an underexposed photo is largely the same process; underexposed just means not enough light reached the camera sensor when the photo was taken, resulting in an overly dark image that brightening can often recover.
One honest limitation here: brightening a photo can only reveal detail that already exists in the image data. If a shadow area is completely black with zero information captured, no amount of brightening will pull detail out of pure black — there's simply nothing there to recover. For most everyday dark photos, though, there's more recoverable detail than people expect.
OVEREXPOSURE FIX
How to fix an overexposed photo: reduce brightness slightly and consider increasing contrast, which helps restore some depth to a photo that looks flat and blown-out from too much light. Similar to underexposed photos, there's a limit — if an area is completely blown out to pure white with no detail captured at all, reducing brightness won't bring detail back into that area, since there's nothing recorded there to recover either.
CONTRAST CONTROL
How to increase contrast in a photo: push the contrast slider up, which deepens shadows and brightens highlights, making the image feel punchier and more defined. How to reduce contrast in an image: pull the slider down instead, which softens the difference between light and dark areas, often giving a flatter, more muted look — sometimes desirable for a softer, vintage-style aesthetic.
QUALITY PRESERVATION
How to brighten an image without losing quality: standard brightness and contrast adjustments don't compress or degrade the file — they recalculate pixel brightness values across the image, which is a different process from compression entirely. That said, pushing adjustments to an extreme (brightening a very dark photo dramatically, for example) can sometimes reveal noise or graininess that was already present in the original but hidden in the shadows. That's not quality loss from the adjustment itself — it's existing image noise becoming more visible once brightened, which is worth knowing so you're not surprised by it.
PRACTICAL USES
FREE & UNLIMITED
REFERENCE MATRIX
| Adjustment Control | Effect on Photo | Common Correction |
|---|---|---|
| Brightness Increase | Lightens overall exposure | Fix underexposed dark photos |
| Brightness Decrease | Darkens harsh highlights | Fix washed-out overexposed photos |
| Contrast Boost | Separates darks and lights | Fix flat, dull & hazy images |
Questions and answers
Yes, completely free with no hidden costs.
No, standard adjustments recalculate pixel brightness rather than compressing the file, so quality stays intact.
It depends on whether any detail was actually captured in that area — if a spot is pure black or pure white with zero recorded detail, brightness adjustment can't recover something that was never there.
Brightness controls how light or dark the whole image is; contrast controls the difference between the lightest and darkest areas.
No, everything happens online without installing any software with simple sliders.
Yes, files are processed securely and aren't stored or shared afterward.
Yes, both controls are independent, so you can adjust one without affecting the other.